Kbore
-
Posts
24 -
Joined
-
Last visited
-
Days Won
1
Content Type
Profiles
Forums
Gallery
Events
Articles
Blogs
Downloads
Community Map
Everything posted by Kbore
-
My first thought was "where do they source the wood"? I'm blessed to have a 25 minute drive to Hibdon Hardwood in Saint Louis, but that may soon be a fond memory.....
-
Look what I found: Greg Voros for MS – Acoustic Coffee
-
Yes, I have one and I use it to evaluate MY repairs.
-
Need advice building a set neck guitar
Kbore replied to Jason S's topic in Guitar Care, Repair & Building
Clamp onto a wooden block or "caul" instead of directly on the guitar wood. Attach heavy felt or cork to one side of your clamping caul. For an acoustic: You will need to clamp the fingerboard overlay from inside the soundhole. I use a clamping caul that straddles the braces under the fingerboard, don’t clamp directly on the braces.. -
Check out the kits at Stewart-Macdonald (Stew-Mac). They have several price levels....
-
Lighter Strings for Acoustic?
Kbore replied to Gary Nelson's topic in Guitar Care, Repair & Building
You don’t “have” to do a set up, but your action will likely change. How much? Give it a try, change ‘em back if you don’t like it. I have a J-45 and 11s are fine, 10s we’re too slinky, for me. Give it a whirl.... -
Building: Neck Geometry Over Bridge
Kbore replied to Kbore's topic in Guitar Care, Repair & Building
Answering my own question here, ended up 3/32" above the front of the bridge. Posted Finished project pic elsewhere in this topic. I'm happy with geometry, looks like it was the right call. -
Looking good. Can't wait to see it with your finishing oil.
-
Thank you for the link. That was without a doubt the best hour I've ever spent on Youtube. There are many many subtle carats of the craft in the video. The music artistry alone was worth the watch. Given the thicknesses sander alone was on the order of $10,000 or more, we should realize the enormous cost of a custom crafted instrument. One doesn't hand build guitars for the money. Awesome video.
-
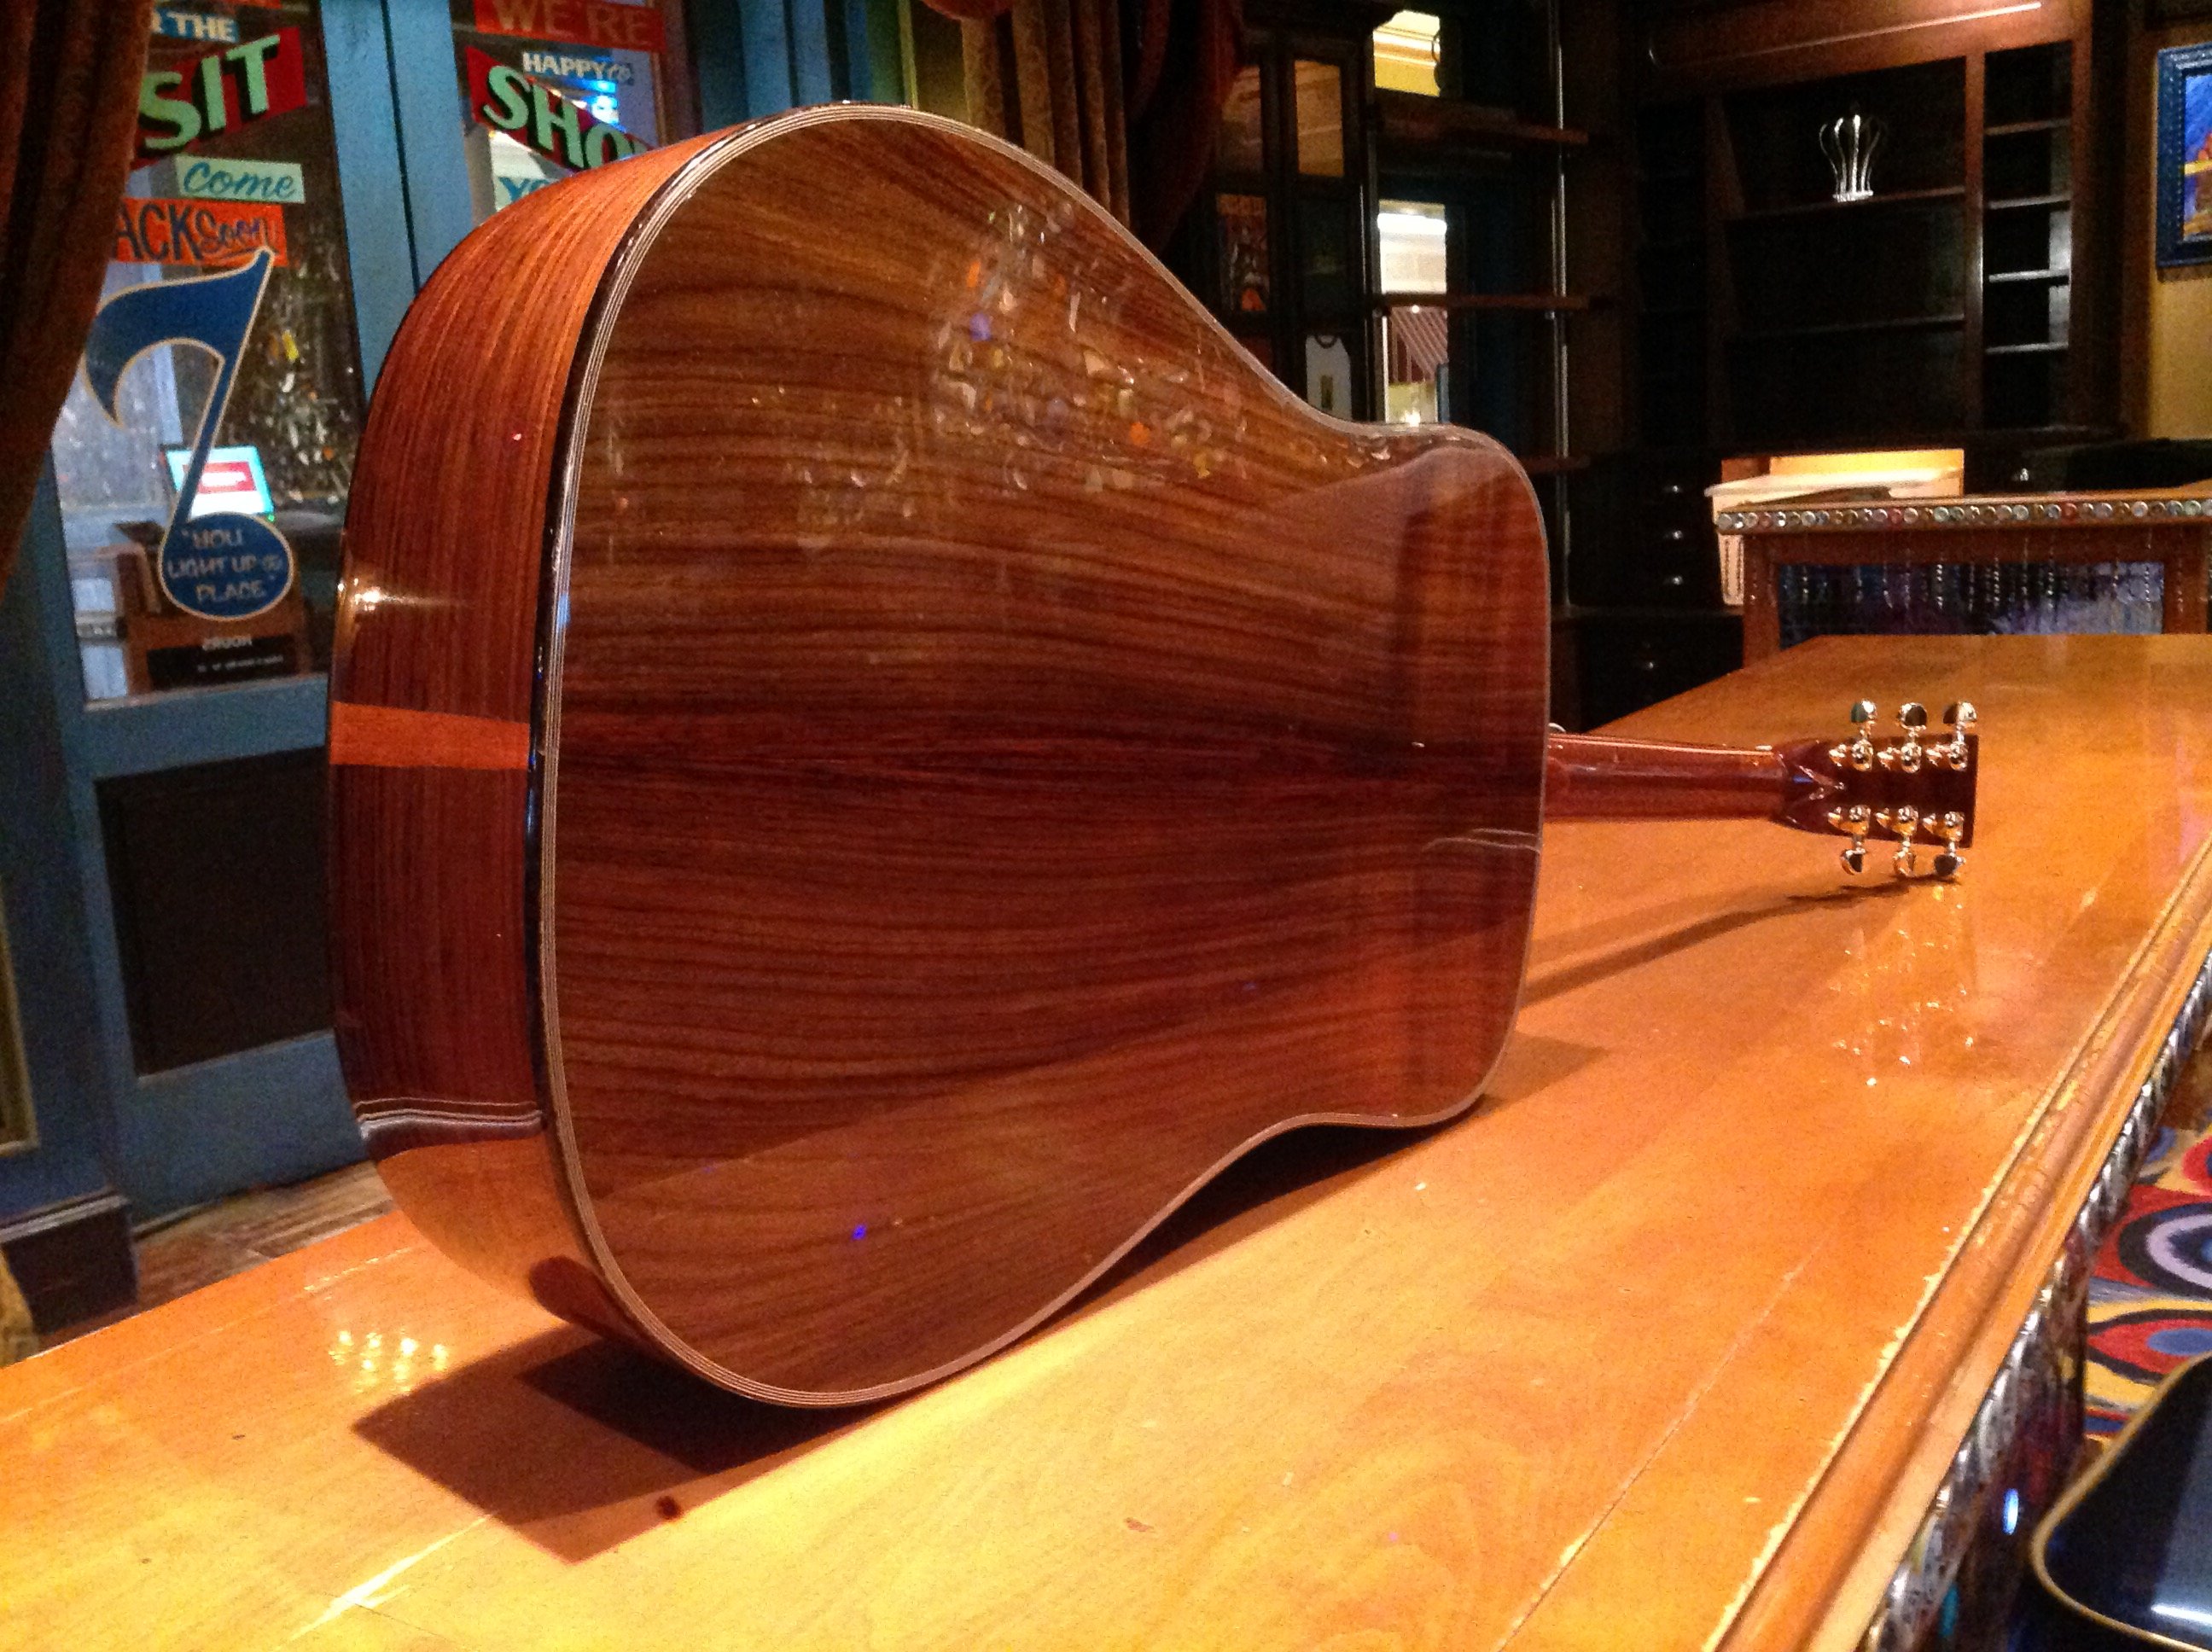
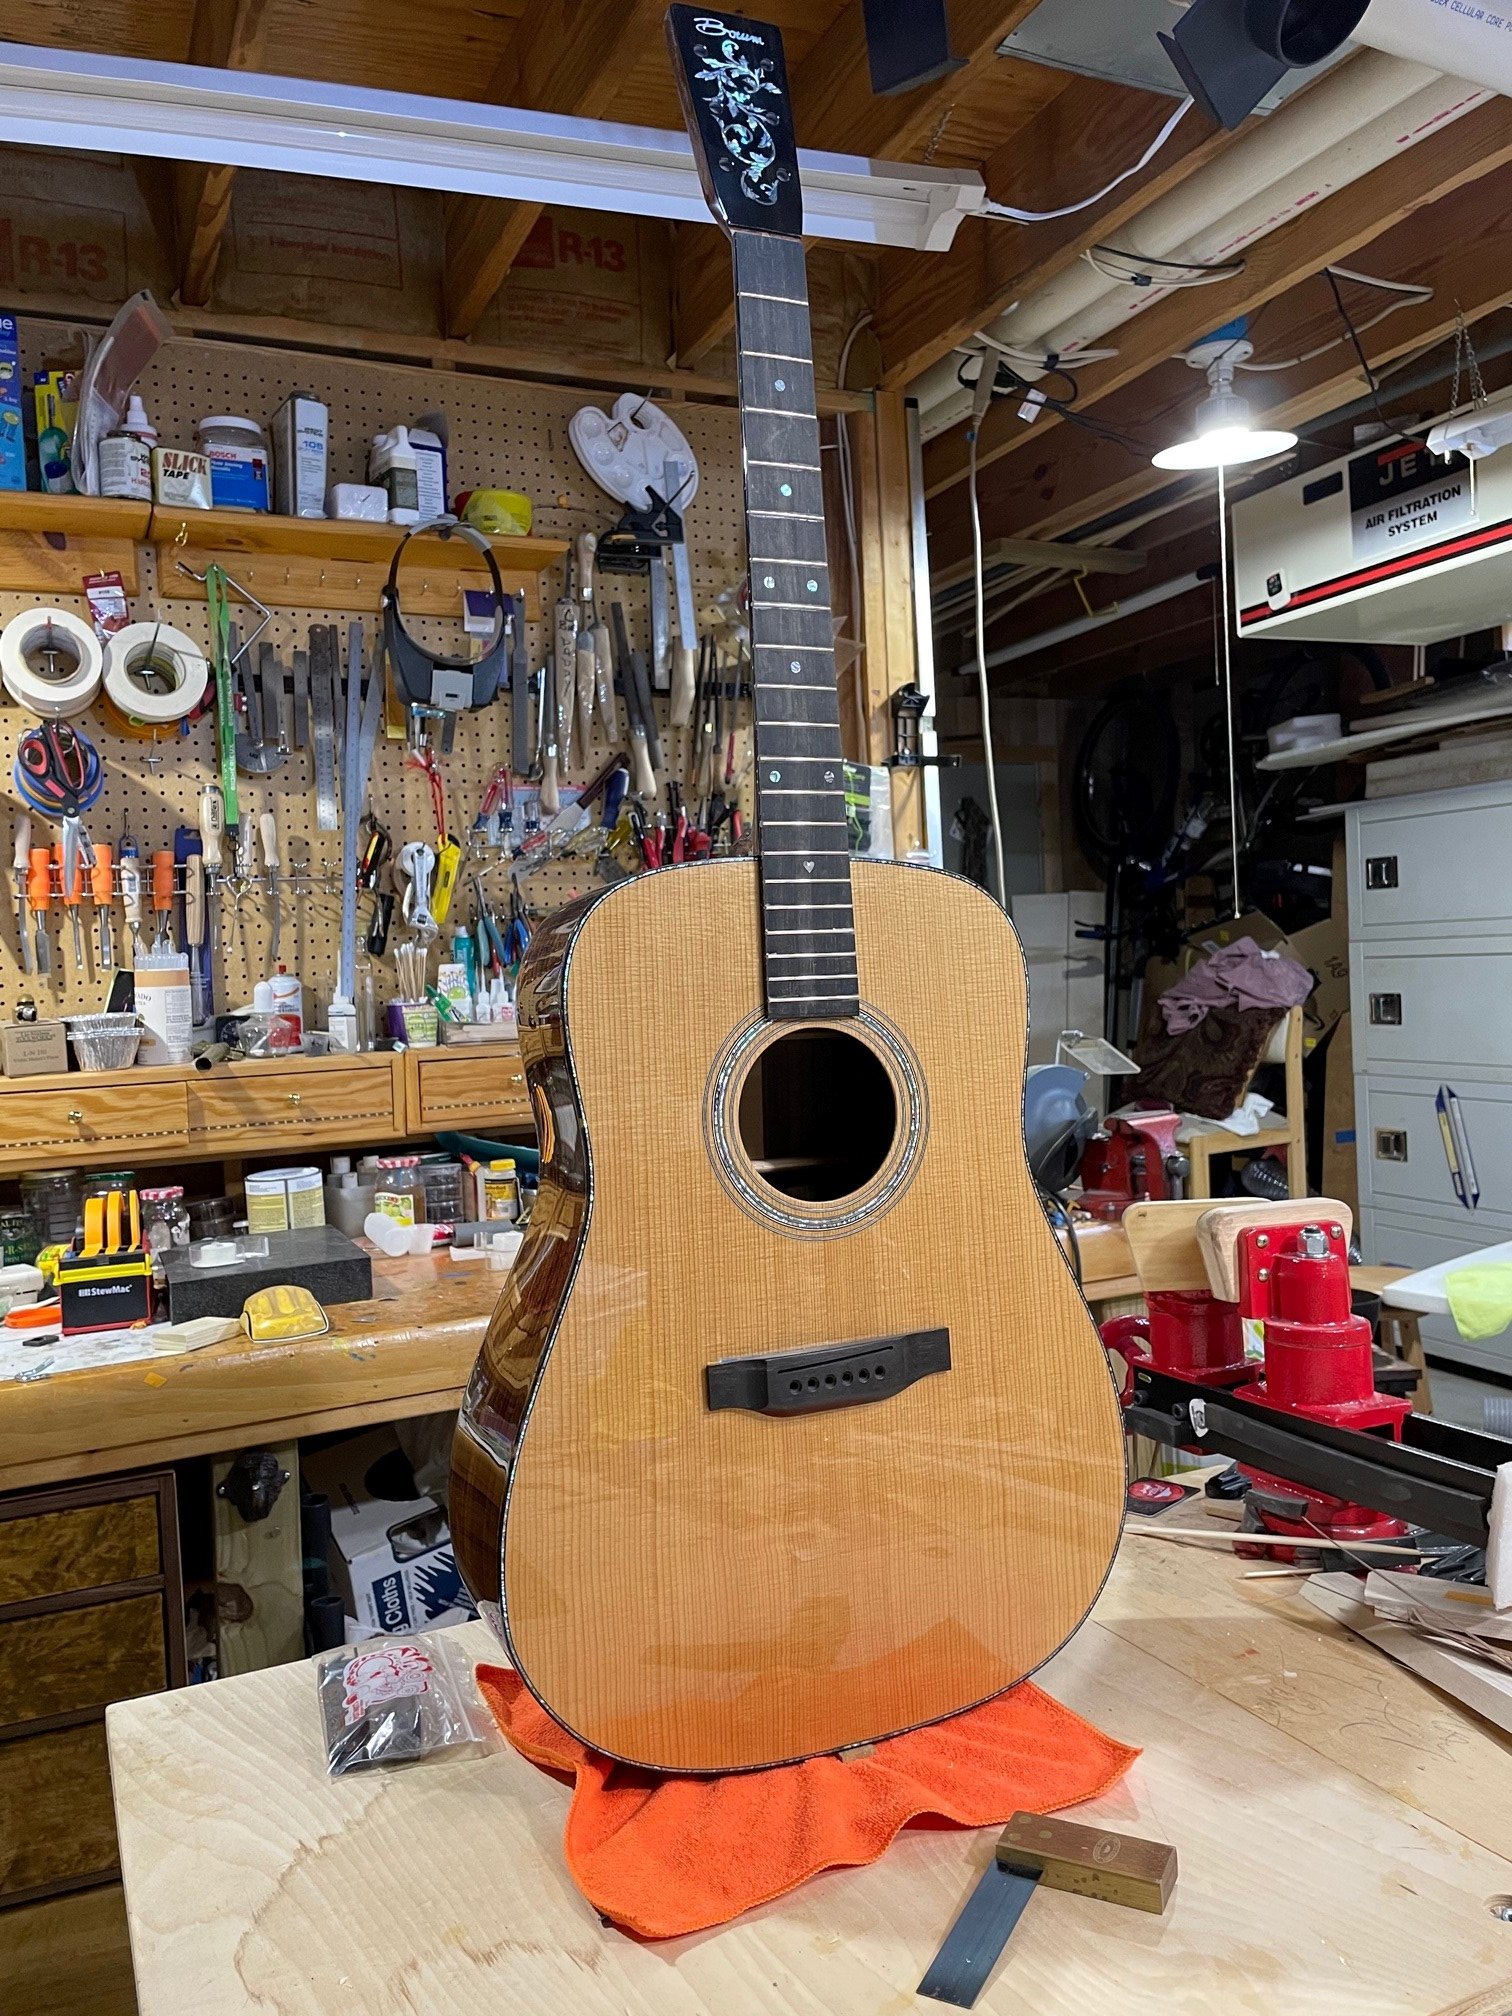
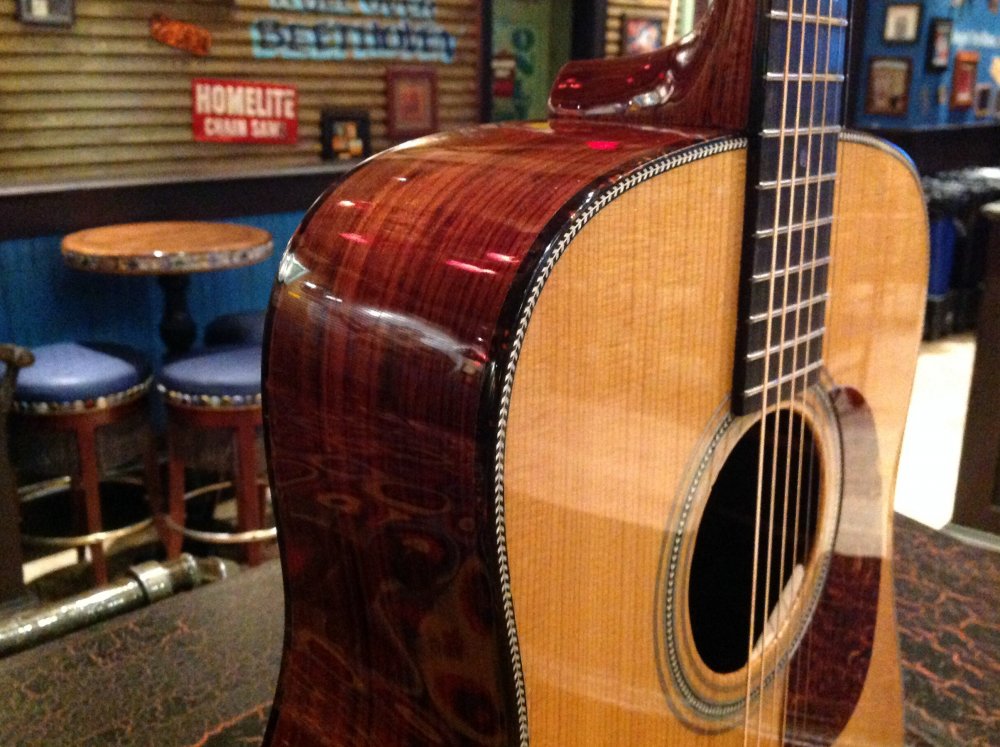
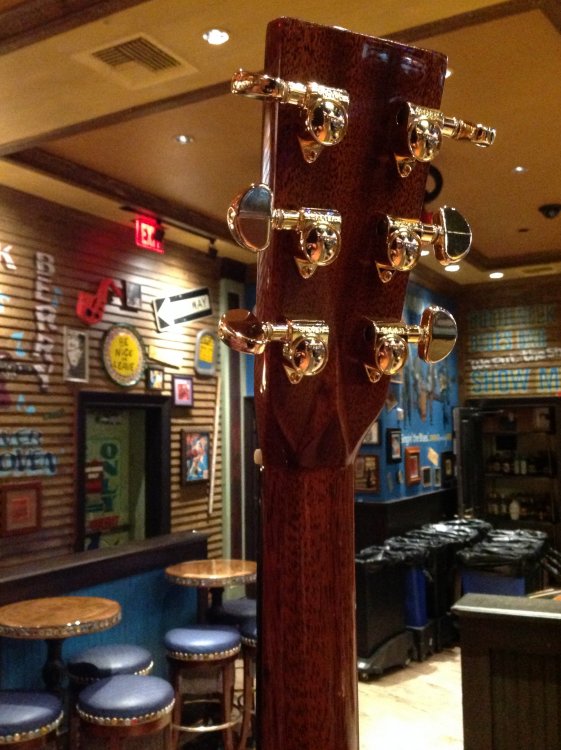
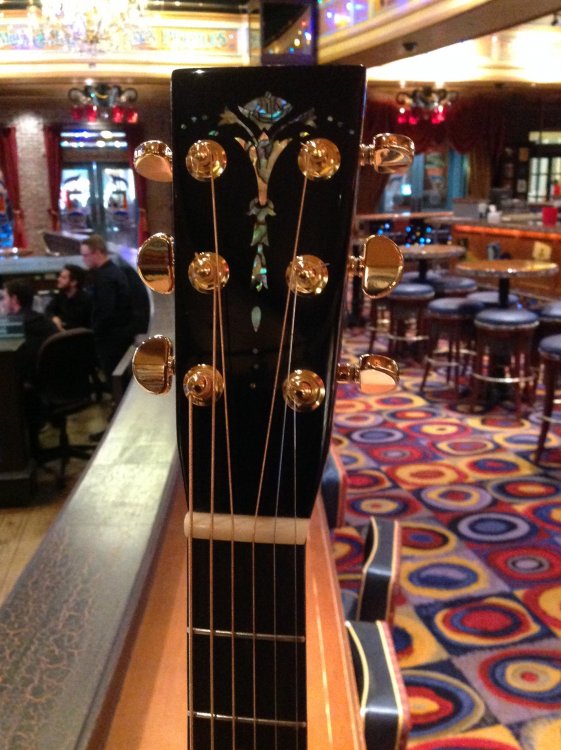
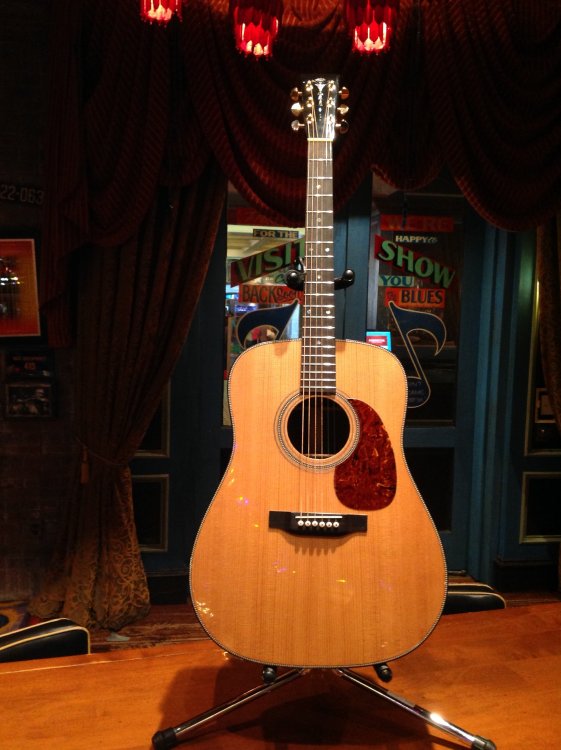
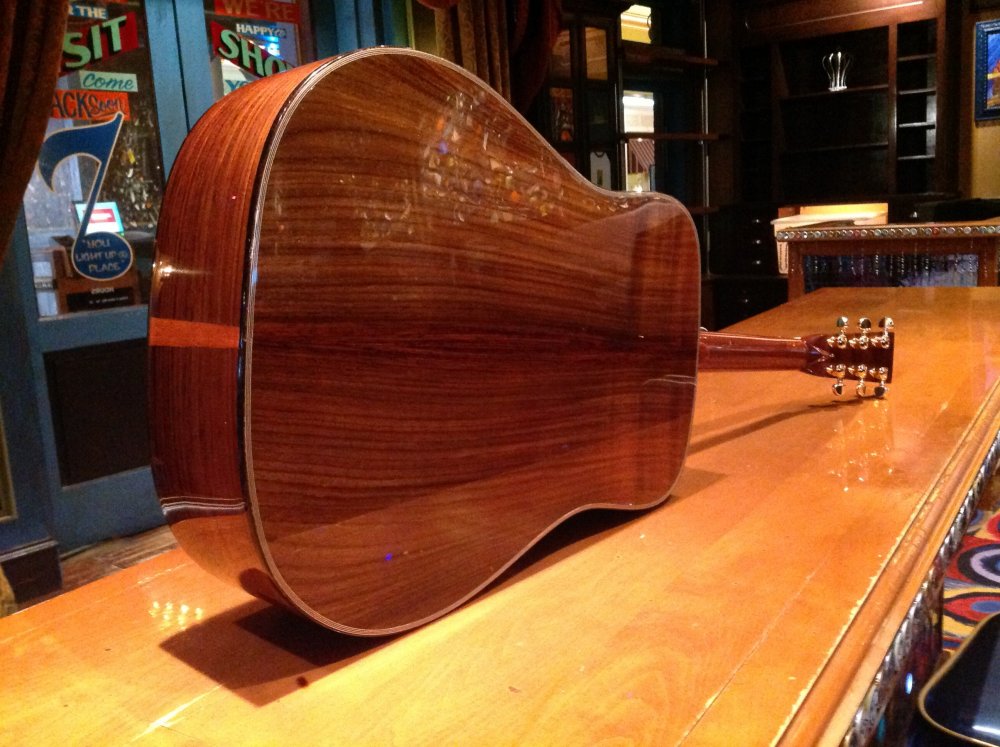
I'm a fairly old dude, and have wanted to build a guitar for some 35 years. With a library of books collected over that time, and the marvel of the internet, I finally did it. Started with a "kit" from StewMac, which is basically a box of rough cut wood and parts, many of which I threw away and replaced with higher quality materials. I've spent 15 years putting together a wood shop, and so it started, in the wood shop. A year and a half and $5000 in parts and tools later, here it is. D-28 style dreadnaugh, Indian Rosewood back and sides, torified Sitka spruce top, mahogany neck, rosewood fingerboard, paua abalony inlays, tourtoise celluloid bindings, bone nut and saddle, hand made celluloid pickguard ( thank you Greg Voros for the material and your advise on setting the neck) and a nitrocellulose lacquer finish. Can't wait to start my second, likely a tobacco cherry sunburst dread. I can spread the obscene cost of tools over the next ones : ). Judging by the way it sounds and plays, I got my money's worth. Let's get the party started on this topic!!
-
Bone nut/ saddle blanks are pretty inexpensive on eBay....
-
A note on humidity and tuning: a guitar neck is basically a hygrometer, two dissimilar woods laminated together. When the humidity changes, the hygrometer moves, like a pointer, and your guitar neck is the pointer. The strings will stay in tune relative to one another, but the entire pitch will change with humidity- guaranteed. Add to this that an unfinished fingerboard will absorb and donate moisture to the air a two a different rate than the finished neck. A guitar builder buddy of mine posted a pic on FB of a hygrometer he made for his shop. He made it from 2 strips of scrap wood, mahogany and rosewood from a finger board, simply gluing the strips together. His hygrometer was about 25" long (surprise). It would move back and forth several inches, like a pointer, when the humidity in his shop changed. I was thinking about the possibility of measuring humidity by measuring the change of pitch in my guitar when it dawned on me, The neck indeed is a hygrometer, just like the one Bryan made for his shop!
-
You guys bought your ebony bridge pins yet? Inexpensive experiment!!?
-
Dohhh, I missed that....
-
Electric or acoustic? Do you know what model of Gibson?
-
Building: Neck Geometry Over Bridge
Kbore replied to Kbore's topic in Guitar Care, Repair & Building
Thanks for the reply JW. I agree, you are correct about the saddle height. My question relates to the neck geometry, in relation to the bridge, before the saddle is installed. Before a saddle is installed, with a straight edge laid longwise across the fretboard and extending to the front edge of the saddle slot, where should that straight edge "hit" the saddle. The bridge is not yet glued to the top yet, nor is the neck glued in place. Consider the curvature of the neck and how a truss rod adjustment affects that curvature before you use it to adjust the action (bridge saddle may be the preferred way). With that said, I probably need to clarify my question. What is the optimum target measurement above, the bridge, of a straight edge laid longwise across the fretboard and extending to the front edge of the saddle slot (assuming that straight edge is above the bridge) for a steel string, acoustic, spruce top, necvk set (D-28 style)? -
Hiya, This is a new D-28 style build: What is your target measurement above the bridge (assuming its above the bridge) for a steel string, acoustic, spruce top, neck set? I've read everything from 1/64" to 5/64" above the bridge
-
Thank you DianeB for posting this and to Randy120 for the Taylor videos. I have an old beater a friend gave to me that has a cracked and buckled top that I thought was caused by a really hard side impact (you can see the impact crater on the edge of the top). It might in fact have been partly caused by a dried out guitar. Your posts motivated me to order a couple of the Dampit guitar humidifiers in the Taylor vid Randy120 posted. When the Dampit's come in, going to case that guitar for a couple of several days and see what happens to the crack. I'll take before and after pics if there is a significant change in the crack and post them up here. My guitar's (all of them) tuning goes sharp or flat depending on the humidity, and the Mexican Martin (I call that one Juan Marteen), with the High Pressure Laminate fingerboard (particle board) is the worst. I had one guitar dry out last year really bad, with all the symptoms, and it STILL has a horrendous S curve in the neck (with the hump at the neck/ body joint) that I cant correct with the truss rod. I'll stick the snakes in that one next. Thanks again for reminding us what an important subject this is! I had to buy several room humidifiers last year because my environment got so dry, my guitar(s) became un-playable. I'm pretty new to this community and I'm really enjoying ya'lls posts.
-
Very awesome! That is the first stand of that type I've ever seen (I don't get to town much)! I'm going to add the Dave style stand to my project list. Really elegant, thanks for sharing it.
-
Another option, goto StewMac, (www.stewmac.com) and they likely have installation instructions for the tuners they carry. My tuners used a piloted bit (I don't remember the size) that created a stepped hole, which I bought from StewMac.
-
I just repaired a tiny gap in a celluloid binding butt joint (two places) by dissolving a shaving of celluloid in a couple drops of acetone. Worked GREAT, but the weld swelled up like a birthday balloon. How long should I expect to wait (to shrink) before I can sand/ scrape it back flat? I'm anxious to get back to my project...
-
You can buy a set of perfectly functional radius gauges from eBay ( China). There are saddle sanding fixtures available from eBay that copy the one from StewMac and hold your work perpendicular to the sanding surface. I use a granite surface block, but you could put your sandpaper on a thick piece of glass or marble (get a cutoff from the granite countertop place). Cheaper to let s professional do it for you.
-
Ebony wood pins (in conjunction with new bone saddles) have made a huge difference on most of my guitars. They are inexpensive and can dress up your guitar too. I've bought pins (and bone blanks) from Ebay, amazon and guitar center online. I had to ream the holes slightly on my Yamaha for them to fit. It's a pretty inexpensive experiment. Bone saddle with hard wood pins seems to make a difference, to me. You just carefully copy the saddle shape onto a bone shape. you can just throw the bone away if you don't like it or if you mess the bone up.
-
Which Guitar for Jules, my wife.
Kbore replied to Mick & Jules's topic in Guitar Gear, Amps, Effects, Pedals
Simple, you give her yours, and you go get you another one, what ever you want.